学生时代曾为整个课题组的师生搭建过一个梯子,稳定运行两年多,最近突然爬不上去了。
寻思是哪里出了问题,经过一番定位,原来是之前的免费域名到期了。遂于昨晚开启修补
之旅,无奈运气不太好,每一环节都出了问题,最终搞到凌晨 3 点才重新爬上了梯子。
想来主要是之前对照的教程遗失,整个流程又有很多细节,难免忘记,遂记此篇。(顺便
吐槽如今网上教程已经不胜枚举,但优质的教程却少有输出。以至于想要弄清楚某个事情
的来龙去脉,就必须博采众家所长,取其精华,弃其糟粕。有没有一个教程站出来拍拍
胸脯说:少年,你只要看我就够了 Orz!当然,此篇仅是个笔记,不为服务他人,只为提醒
自己。)
V2Ray 是一个较为先进的网络工具,他的用途很多,但大多数人用它来搞建筑。原理就是
你有一台可访问外网的机器 A,你与该机器可以通信,在 A 中运行一个 v2ray(充当服务端),
在终端设备运行一个 v2ray(充当客户端),然后两方配制能对得上,就可以将你访问外网
的流量转发给机器 A,由 A 发出该请求,收到回复后还是通过 A 转发回给终端机。这就完成了
一次外网访问。
v2ray 的难点在于配置文件的编写,不过好在现在有很多辅助你生成配置文件的工具。
咱当初可是辛辛苦苦对着文档敲的,不贴上来太可惜了:
 1
 2
 3
 4
 5
 6
 7
 8
 9
10
11
12
13
14
15
16
17
18
19
20
21
22
23
24
25
26
27
28
29
30
31
32
33
34
35
36
37
38
39
40
41
42
43
44
45
46
47
48
49
50
51
52
53
54
55
56
57
58
59
60
61
62
63
64
65
66
67
68
69
70
| /// config_server.json
{
"log": {
"access": "/var/log/v2ray/access.log",
"error": "/var/log/v2ray/error.log",
"loglevel": "warning"
},
"dns": {},
"stats": {},
"inbounds": [
{
"port": 443,
"protocol": "vmess",
"settings": {
"clients": [
{
"id": "your_uuid",
"alterId": 32
}
]
},
"tag": "in-0",
"streamSettings": {
"network": "ws",
"security": "tls",
"wsSettings": {
"path": "/somepath",
"headers": {
"host": "somehost.com"
}
},
"tlsSettings": {
"certificates": [
{
"certificateFile": "/etc/v2ray/v2ray.crt",
"keyFile": "/etc/v2ray/v2ray.key"
}
]
}
}
}
],
"outbounds": [
{
"tag": "direct",
"protocol": "freedom",
"settings": {}
},
{
"tag": "blocked",
"protocol": "blackhole",
"settings": {}
}
],
"routing": {
"domainStrategy": "AsIs",
"rules": [
{
"type": "field",
"ip": [
"geoip:private"
],
"outboundTag": "blocked"
}
]
},
"policy": {},
"reverse": {},
"transport": {}
}
|
 1
 2
 3
 4
 5
 6
 7
 8
 9
10
11
12
13
14
15
16
17
18
19
20
21
22
23
24
25
26
27
28
29
30
31
32
33
34
35
36
37
38
39
40
41
42
43
44
45
46
47
48
49
50
51
52
53
54
55
56
57
58
59
60
61
62
63
64
65
66
67
68
69
70
71
72
73
74
75
76
77
78
79
80
81
82
83
84
85
86
87
88
89
90
91
92
| /// config_client.json
{
"log":{},
"dns":{},
"stats":{},
"inbounds":[
{
"port":"1080",
"protocol":"socks",
"settings":{
"auth":"noauth",
"udp":true
},
"tag":"in-0"
},
{
"port":"8080",
"protocol":"http",
"settings":{},
"tag":"in-1"
}
],
"outbounds":[
{
"protocol":"vmess",
"settings":{
"vnext":[
{
"address":"your_host_address",
"port":443,
"users":[
{
"id":"your_uuid",
"alterId":32
}
]
}
]
},
"tag":"out-0",
"streamSettings":{
"network":"ws",
"security":"tls",
"wsSettings":{
"path":"/somepath",
"headers": {
"host": "somehost.com"
}
},
"tlsSettings":{
"allowInsecure": true
}
}
},
{
"tag":"direct",
"protocol":"freedom",
"settings":{}
},
{
"tag":"blocked",
"protocol":"blackhole",
"settings":{}
}
],
"routing":{
"domainStrategy":"IPOnDemand",
"rules":[
{
"type":"field",
"ip":[
"geoip:private"
],
"outboundTag":"direct"
},
{
"type":"field",
"ip":[
"geoip:cn"
],
"inboundTag":[
"in-0",
"in-1"
],
"outboundTag":"direct"
}
]
},
"policy":{},
"reverse":{},
"transport":{}
}
|
仔细看看 server 的配置,其实用到了 WS+TLS 的方式,这样的配置隐蔽性较好,不容易被封。
但这种配置的成本也相对较高,首先得弄个域名和机器 A 的 ip 绑定。即通过ping somehost.com能够翻译成机器 A 的 ip。
注册域名
上免费域名注册站:https://my.freenom.com/domains.php,
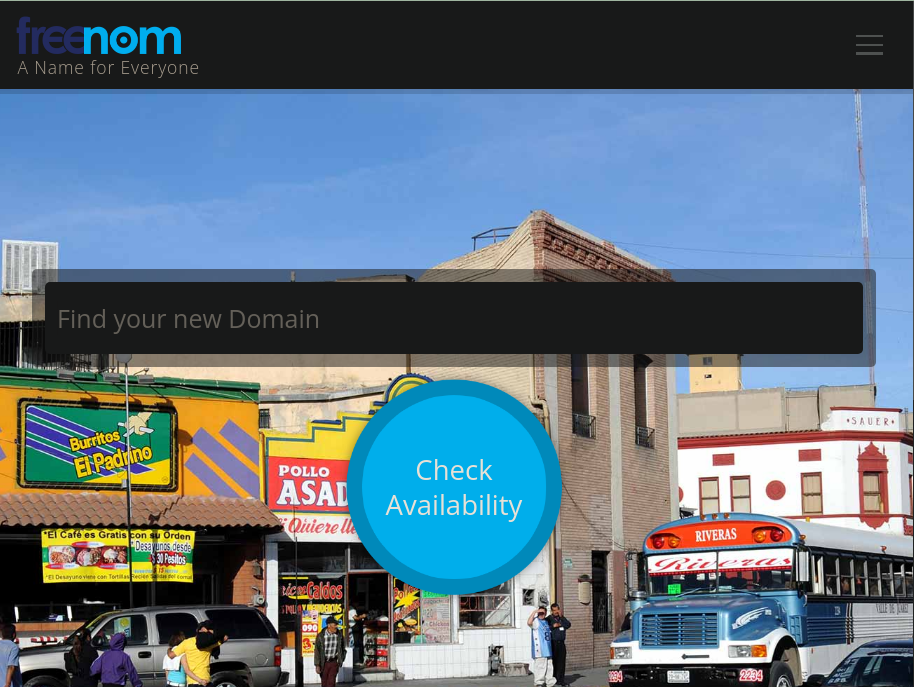
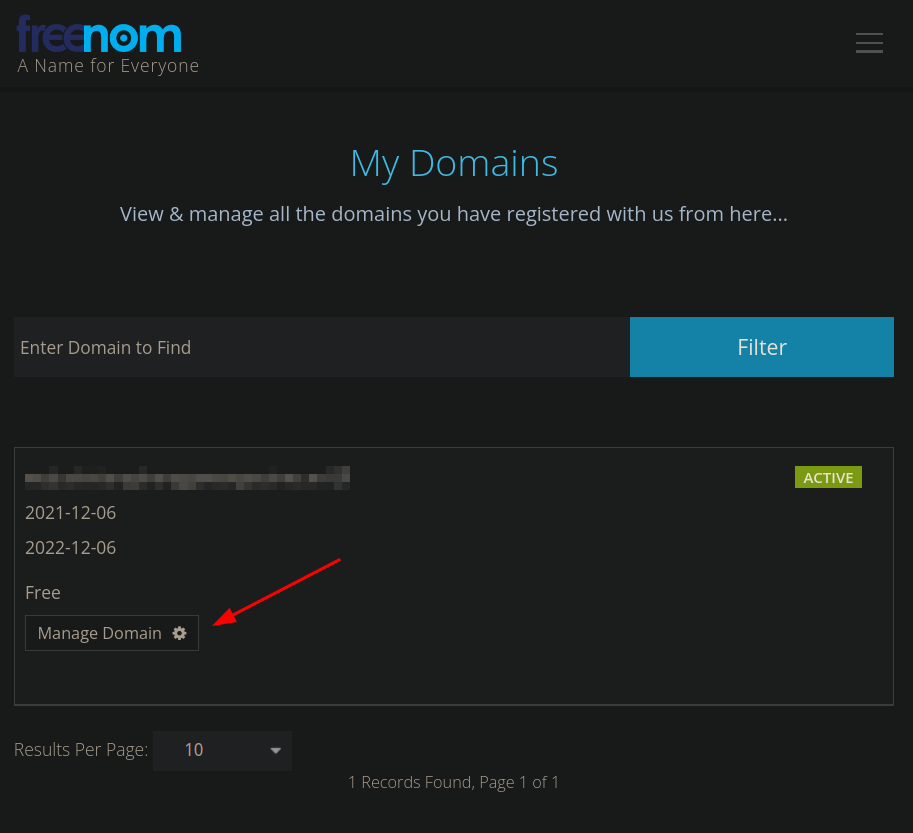
随便敲一个域名,检查是否可用,注册成功后如下图所示:
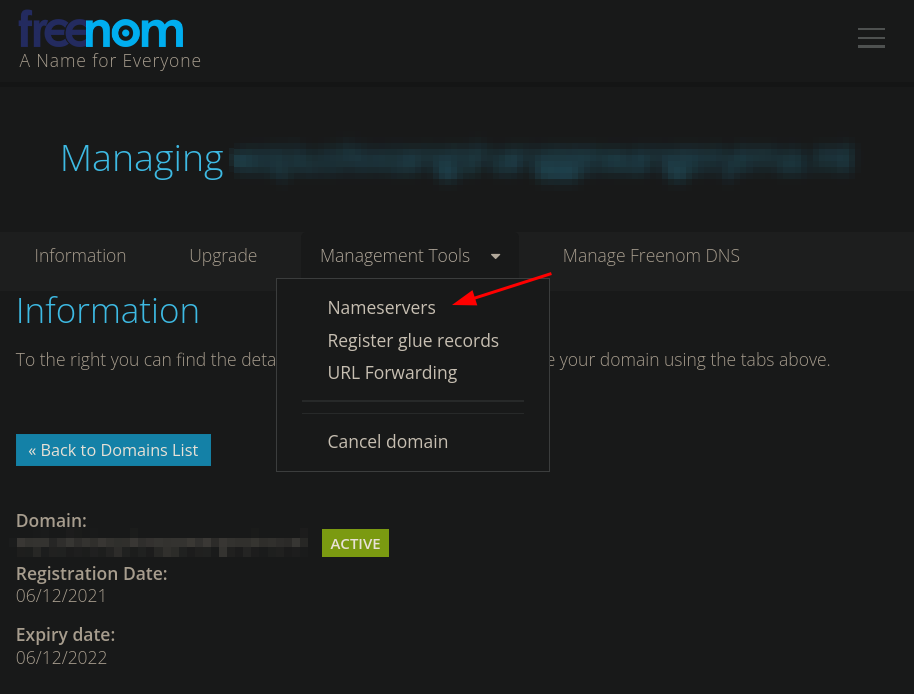
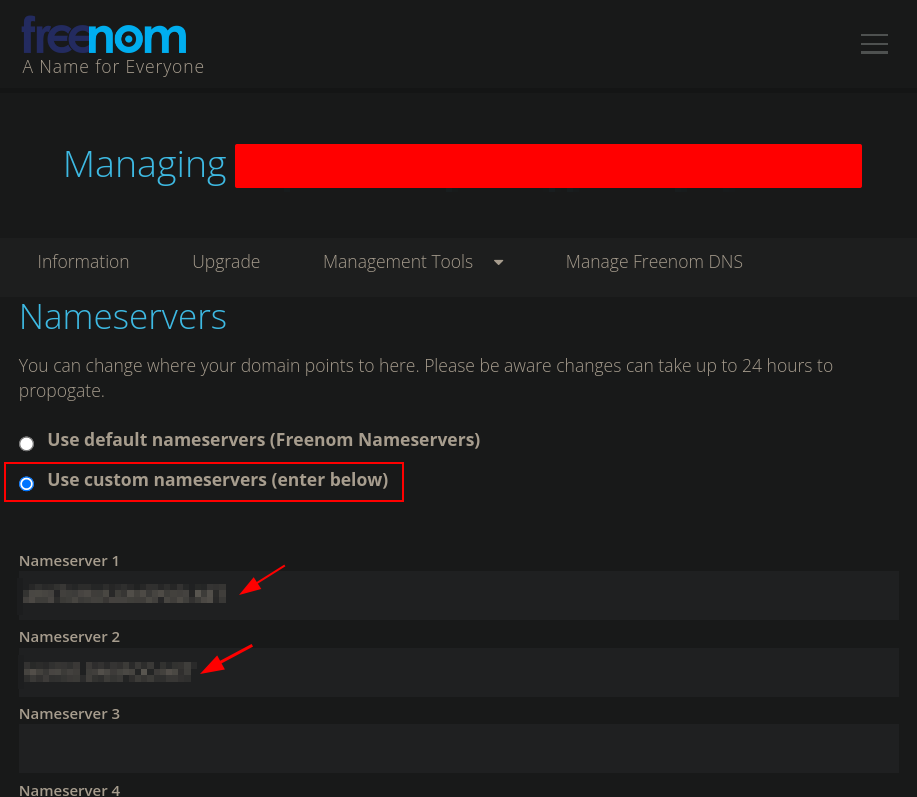
此处需要为域名配置解析服务器,可以用腾讯云 域名解析服务,下图中点击“添加域名”,配置成功后会得到两个域名解析服务器地址,将这两个地址填入上图的 Nameserver1 和 Nameserver2 中即可。

至此,一个域名到 ip 的绑定关系就配置完成,可以 ping 一下试试:
1
2
3
4
5
6
| me@~> ping somehost.com
PING somehost.com (xxx.yyy.zzz.aaa) 56(84) 字节的数据。
64 字节,来自 xx.com (xxx.yyy.zzz.aaa): icmp_seq=1 ttl=52 时间=193 毫秒
--- somehost.com ping 统计 ---
已发送 4 个包, 已接收 4 个包,0% packet loss, time 3003ms
rtt min/avg/max/mdev = 159.025/202.023/239.194/29.721 ms
|
其中,somehost.com为之前申请的域名,xxx.yyy.zzz.aaa为机器 A 的 ip。
证书生成
此段摘抄自 https://guide.v2fly.org/advanced/tls.html#证书生成
TLS 是证书认证机制,所以使用 TLS 需要证书,证书也有免费付费的,同样的这里使用免费证书,证书认证机构为 Let’s Encrypt。证书的生成有许多方法,这里使用的是比较简单的方法:使用 acme.sh 脚本生成,本部分说明部分内容参考于 acme.sh README。
证书有两种,一种是 ECC 证书(内置公钥是 ECDSA 公钥),一种是 RSA 证书(内置 RSA 公钥)。简单来说,同等长度 ECC 比 RSA 更安全,也就是说在具有同样安全性的情况下,ECC 的密钥长度比 RSA 短得多(加密解密会更快)。但问题是 ECC 的兼容性会差一些,Android 4.x 以下和 Windows XP 不支持。只要您的设备不是非常老的老古董,建议使用 ECC 证书。
以下只给出 ECC 证书的部分。
证书生成只需在服务器上操作。
安装 acme.sh
执行以下命令,acme.sh 会安装到 ~/.acme.sh 目录下。
 1
 2
 3
 4
 5
 6
 7
 8
 9
10
11
12
13
14
15
16
17
18
19
20
| $ curl https://get.acme.sh | sh
% Total % Received % Xferd Average Speed Time Time Time Current
Dload Upload Total Spent Left Speed
100 671 100 671 0 0 680 0 --:--:-- --:--:-- --:--:-- 679
% Total % Received % Xferd Average Speed Time Time Time Current
Dload Upload Total Spent Left Speed
100 112k 100 112k 0 0 690k 0 --:--:-- --:--:-- --:--:-- 693k
[Fri 30 Dec 01:03:32 GMT 2016] Installing from online archive.
[Fri 30 Dec 01:03:32 GMT 2016] Downloading https://github.com/Neilpang/acme.sh/archive/master.tar.gz
[Fri 30 Dec 01:03:33 GMT 2016] Extracting master.tar.gz
[Fri 30 Dec 01:03:33 GMT 2016] Installing to /home/user/.acme.sh
[Fri 30 Dec 01:03:33 GMT 2016] Installed to /home/user/.acme.sh/acme.sh
[Fri 30 Dec 01:03:33 GMT 2016] Installing alias to '/home/user/.profile'
[Fri 30 Dec 01:03:33 GMT 2016] OK, Close and reopen your terminal to start using acme.sh
[Fri 30 Dec 01:03:33 GMT 2016] Installing cron job
no crontab for user
no crontab for user
[Fri 30 Dec 01:03:33 GMT 2016] Good, bash is found, so change the shebang to use bash as preferred.
[Fri 30 Dec 01:03:33 GMT 2016] OK
[Fri 30 Dec 01:03:33 GMT 2016] Install success!
|
如果安装报错,那么可能是因为系统缺少 acme.sh 所需要的依赖项,acme.sh 的依赖项主要是 socat,我们通过以下命令来安装这些依赖项,然后重新安装一遍 acme.sh:
1
| $ sudo apt-get install openssl cron socat curl
|
使用 acme.sh 生成证书
证书生成
执行以下命令生成证书:
以下的命令会临时监听 80 端口,请确保执行该命令前 80 端口没有使用
 1
 2
 3
 4
 5
 6
 7
 8
 9
10
11
12
13
14
15
16
17
18
19
20
21
22
23
24
25
26
27
28
29
| $ ~/.acme.sh/acme.sh --issue -d mydomain.me --standalone --keylength ec-256 --force
[Fri Dec 30 08:59:12 HKT 2016] Standalone mode.
[Fri Dec 30 08:59:12 HKT 2016] Single domain='mydomain.me'
[Fri Dec 30 08:59:12 HKT 2016] Getting domain auth token for each domain
[Fri Dec 30 08:59:12 HKT 2016] Getting webroot for domain='mydomain.me'
[Fri Dec 30 08:59:12 HKT 2016] _w='no'
[Fri Dec 30 08:59:12 HKT 2016] Getting new-authz for domain='mydomain.me'
[Fri Dec 30 08:59:14 HKT 2016] The new-authz request is ok.
[Fri Dec 30 08:59:14 HKT 2016] mydomain.me is already verified, skip.
[Fri Dec 30 08:59:14 HKT 2016] mydomain.me is already verified, skip http-01.
[Fri Dec 30 08:59:14 HKT 2016] mydomain.me is already verified, skip http-01.
[Fri Dec 30 08:59:14 HKT 2016] Verify finished, start to sign.
[Fri Dec 30 08:59:16 HKT 2016] Cert success.
-----BEGIN CERTIFICATE-----
MIIEMTCCAxmgAwIBAgISA1+gJF5zwUDjNX/6Xzz5fo3lMA0GCSqGSIb3DQEBCwUA
MEoxCzAJBgNVBAYTAlVTMRYwFAYDVQQKEw1MZXQncyBFbmNyeXB0MSMwIQYDVQQD
ExpMZXQncyBFbmNyeXB0IEF1dGhvcml0eSBYMzAeFw0xNjEyMjkyMzU5MDBaFw0x
NzAzMjkyMzU5MDBaMBcxFTATBgNVBAMTDHdlYWtzYW5kLmNvbTBZMBMGByqGSM49
****************************************************************
4p40tm0aMB837XQ9jeAXvXulhVH/7/wWZ8/vkUUvuHSCYHagENiq/3DYj4a85Iw9
+6u1r7atYHJ2VwqSamiyTGDQuhc5wdXIQxY/YQQqkAmn5tLsTZnnOavc4plANT40
zweiG8vcIvMVnnkM0TSz8G1yzv1nOkruN3ozQkLMu6YS7lk/ENBN7DBtYVSmJeU2
VAXE+zgRaP7JFOqK6DrOwhyE2LSgae83Wq/XgXxjfIo1Zmn2UmlE0sbdNKBasnf9
gPUI45eltrjcv8FCSTOUcT7PWCa3
-----END CERTIFICATE-----
[Fri Dec 30 08:59:16 HKT 2016] Your cert is in /root/.acme.sh/mydomain.me_ecc/mydomain.me.cer
[Fri Dec 30 08:59:16 HKT 2016] Your cert key is in /root/.acme.sh/mydomain.me_ecc/mydomain.me.key
[Fri Dec 30 08:59:16 HKT 2016] The intermediate CA cert is in /root/.acme.sh/mydomain.me_ecc/ca.cer
[Fri Dec 30 08:59:16 HKT 2016] And the full chain certs is there: /root/.acme.sh/mydomain.me_ecc/fullchain.cer
|
--keylength 表示密钥长度,后面的值可以是 ec-256 、ec-384、2048、3072、4096、8192,带有 ec 表示生成的是 ECC 证书,没有则是 RSA 证书。在安全性上 256 位的 ECC 证书等同于 3072 位的 RSA 证书。
证书更新
由于 Let’s Encrypt 的证书有效期只有 3 个月,因此需要 90 天至少要更新一次证书,acme.sh 脚本会每 60 天自动更新证书。也可以手动更新。
手动更新证书,执行:
1
| $ ~/.acme.sh/acme.sh --renew -d mydomain.com --force --ecc
|
由于本例中将证书生成到 /etc/v2ray/ 文件夹,更新证书之后还得把新证书生成到 /etc/v2ray。
安装证书和密钥
将证书和密钥安装到 /etc/v2ray 中:
1
2
3
| $ sudo ~/.acme.sh/acme.sh --installcert -d mydomain.me --ecc \
--fullchain-file /etc/v2ray/v2ray.crt \
--key-file /etc/v2ray/v2ray.key
|
注意:无论什么情况,密钥 (即上面的 v2ray.key) 都不能泄漏,如果你不幸泄漏了密钥,可以使用 acme.sh 将原证书吊销,再生成新的证书,吊销方法请自行参考 acme.sh 的手册
摘抄完毕。
证书生成(Re)
给一个域名添加证书:
- 使用 ACME.SH 申请并安装 Let’s Encrypt SSL 证书
- 使用 acme.sh 免费申请 HTTPS 证书
- 局域网内搭建浏览器可信任的 SSL 证书
- How to use DNS API - acme.sh wiki
启动
在机器 A 上执行
1
2
3
4
5
6
| $ /usr/bin/v2ray/v2ray
V2Ray 4.44.0 (V2Fly, a community-driven edition of V2Ray.) Custom (go1.17.3 linux/amd64)
A unified platform for anti-censorship.
2021/12/11 00:22:25 Using config from env: /usr/bin/v2ray/config.json
2021/12/11 00:22:25 [Info] main/jsonem: Reading config: /usr/bin/v2ray/config.json
2021/12/11 00:22:26 [Warning] V2Ray 4.44.0 started
|
但是这样会占用终端,虽然可以让它后台运行,但始终不优雅。我们可以将 v2ray 做成一项 system service.
编写服务单元文件:
 1
 2
 3
 4
 5
 6
 7
 8
 9
10
11
12
13
14
15
16
17
18
19
20
21
22
| # file:///etc/systemd/system/v2ray.service
[Unit]
Description=V2Ray Service
After=network.target
Wants=network.target
[Service]
# This service runs as root. You may consider to run it as another user for security concerns.
# By uncommenting the following two lines, this service will run as user v2ray/v2ray.
# More discussion at https://github.com/v2ray/v2ray-core/issues/1011
# User=v2ray
# Group=v2ray
Type=simple
PIDFile=/run/v2ray.pid
Environment=V2RAY_LOCATION_ASSET=/etc/v2ray
ExecStart=/usr/bin/v2ray/v2ray -config /etc/v2ray/config.json
Restart=on-failure
# Don't restart in the case of configuration error
RestartPreventExitStatus=23
[Install]
WantedBy=multi-user.target
|
这样一来可以使用systemctl来管理其启动和关闭,使用
1
2
3
4
5
| systemctl start v2ray # 启动
systemctl restart v2ray # 重新启动
systemclt stop v2ray # 停止
systemctl enable/disable v2ray # 设置是否开机启动
systemctl status v2ray # 查看服务运行情况
|
暂时写到这里,客户端连接,以及服务器安装等,网上教程较多,不再赘述。因原教程被 ban,故摘录部分,有条件的推荐去看原教程,十分详细!
Troubleshooting
Failed to dial WebSocket
V2Ray 5.3.0 (V2Fly, a community-driven edition of V2Ray.) Custom (go1.20 linux/amd64)
A unified platform for anti-censorship.
2023/02/24 10:12:47 [Warning] V2Ray 5.3.0 started
2023/02/24 10:13:00 [Warning] [3406089800] app/dispatcher: default route for tcp:www.google.com:443
2023/02/24 10:13:00 tcp:127.0.0.1:59658 accepted tcp:www.google.com:443 [out-0]
2023/02/24 10:13:31 [Warning] [3395754372] app/dispatcher: default route for tcp:www.google.com:443
2023/02/24 10:13:31 tcp:127.0.0.1:54836 accepted tcp:www.google.com:443 [out-0]
2023/02/24 10:13:33 [Warning] [3406089800] app/proxyman/outbound: failed to process outbound traffic > proxy/vmess/outbound: failed to find an available destination > common/retry: [transport/internet/websocket: failed to dial WebSocket > transport/internet/websocket: failed to dial to (wss://xxx.xxx.xxx.xxx/abc):  > transport/internet/websocket: dial TLS connection failed > dial tcp xxx.xxx.xxx.xxx:10086: i/o timeout transport/internet/websocket: failed to dial WebSocket > transport/internet/websocket: failed to dial to (wss:////xxx.xxx.xxx.xxx/abc):  > transport/internet/websocket: dial TLS connection failed > dial tcp xxx.xxx.xxx.xxx:10086: operation was canceled] > common/retry: all retry attempts failed
参考链接:https://woj.app/7223.html
此前遇到上述问题,经过排查之后就是端口号无法访问了,也不知道是哪一环出了问题。换了端口号之后就可以了。
1
2
3
4
5
6
7
8
| "outbounds":[
{
"protocol":"vmess",
"settings":{
"vnext":[
{
"port":443, // -> 886
}]}}]
|
References
- 新 V2Ray 白话文指南
Author
Yychi
LastMod
March 18, 2026
(f6f83ae7)
License
CC BY-NC-ND 4.0
